
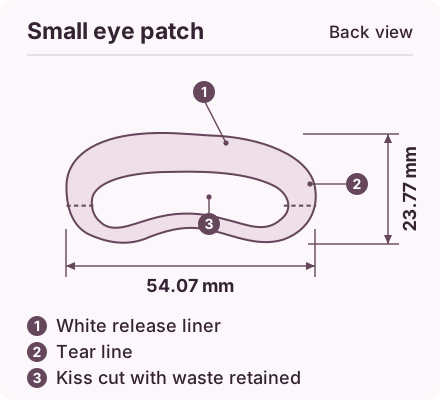
Plan which part releases first
Use a simple drawing to show where the split starts, which half the user grips and how the other half helps position the patch. The order should be clear without reading a long instruction panel.
For mirrored shapes, check both sides of the pair. A position that works on the left can produce a hard-to-reach tab for the right.
Compare full packs with different hands
Review the opening experience beginning at the pouch. A good liner tab can become awkward if a tray rim or a snug sleeve blocks it.
Check whether the first section comes away while the cosmetic area stays supported. Review the cut alongside the liner stiffness and how the user will hold the release sheet.
Make the split part of the approved drawing
Call out location and tolerance of the liner split independently from the outer patch line. List peeled and still-covered sections on the drawing so the intended handling is unambiguous.
Retain a photo of the approved opening sequence and check again when the liner, pack insert or converting tool changes.
- First and second release directions
- Mirror orientation if applicable
- Pouch and tray access to the peel tab
Frequently asked questions
Can a peel tab be added after the sample is approved?
It can change liner handling, sheet yield and packaging fit. Review a sample with the new tab before approval.