
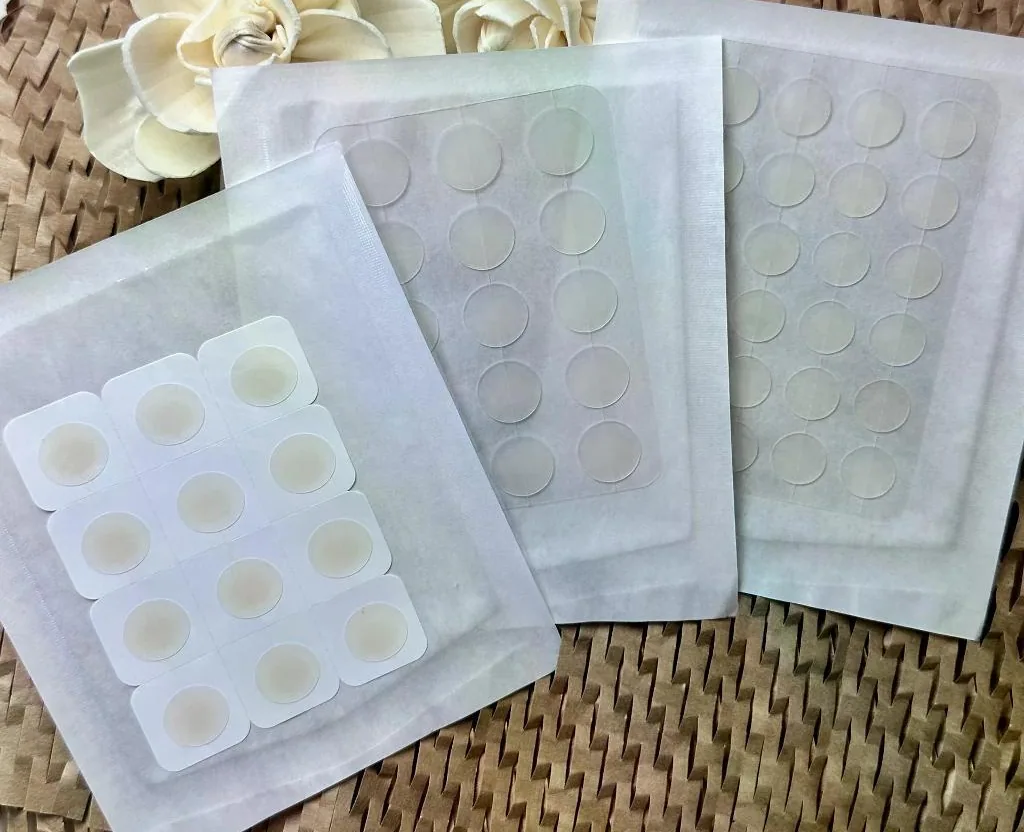
Start with the smallest shape
A circle or rounded tile gives you little room to start the peel. Use the minimum diameter or corner radius from the design instead of only reviewing a larger reference patch.
Inspect whether a fine outer margin stays consistent around the central cosmetic area. Review immediately after liner removal when curl and shape changes are easiest to see.
Plan for visible wear
Record the shade and sheen expected from the backing. A material can look transparent on the liner and more noticeable when the edge catches light.
Compare samples on neutral backgrounds before deciding which photos are acceptable as artwork references. Keep decorative style separate from user claims about product performance.
Test the way the patch is picked
Place the target count and spacing on the release sheet. The user should be able to lift a single dot with an obvious starting point while the rest stay in place.
Check pick-up from the corners, center and edges of the carrier sheet. If bending the liner changes neighboring patches, revise the layout before order approval.
- Smallest diameter and edge target
- Patch count and sheet spacing
- Pick-up and visibility reference photos
Frequently asked questions
How should I compare two spot patch backings?
Review both in the smallest planned size with the intended sheet, liner pull direction and pack.